Getting started
Install
pip install ovos-tui-client
The OVOS installer can also install it for you. To try a pre-release,
add --pre:
pip install --pre -U ovos-tui-client
A container image is published too - see Web and Docker.
Start it
ovos-tui
It connects to the messagebus at 127.0.0.1:8181. On another machine,
or in another language:
ovos-tui --host 192.168.1.50 --lang da-dk
All options
| Option | What it does |
|---|---|
--host, --port |
Messagebus address (default 127.0.0.1:8181). |
--lang |
Language of what you type, and of the tests that run (default en-us). |
--log-dir DIR |
Where the OVOS logs are. Normally found automatically. |
--mycroft-conf FILE |
The mycroft.conf the pipeline view should read. Only needed on some Docker/Podman installs. |
--golden-dir DIR |
Local skill checkouts to take test utterances from, before GitHub. Can be given more than once. See Testing skills. |
--scripts-dir DIR |
Folder with your own scripts (default ~/.config/ovos-tui-client/scripts). |
--web, --web-host, --web-port, --web-public-url |
Serve the TUI in a browser. See Web and Docker. |
The screen
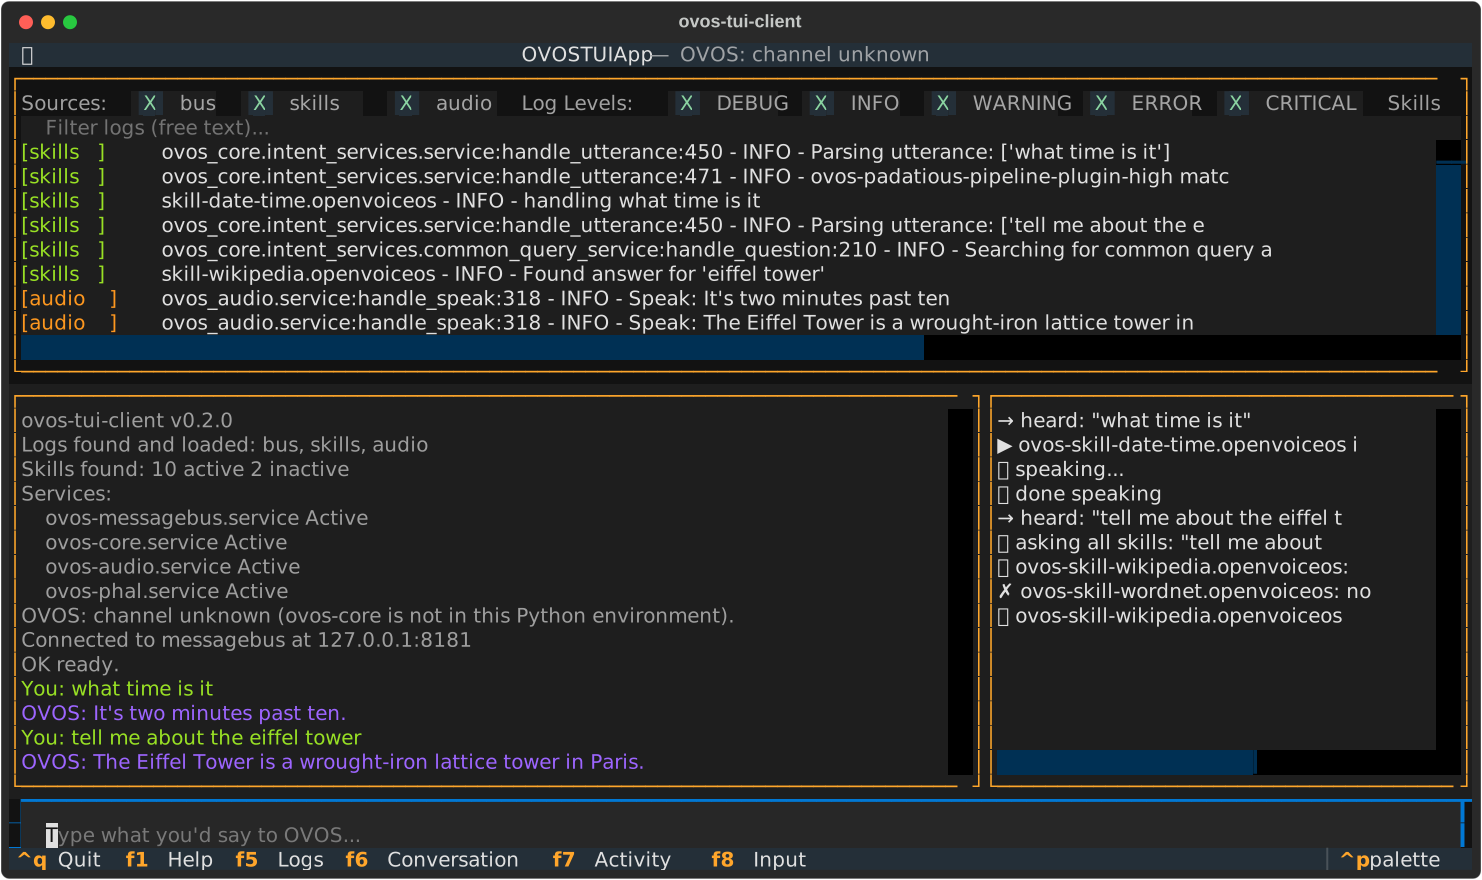
From the top:
- Logs. Tick sources (
bus,skills,audio, …) or log levels to narrow down. With nothing ticked in a row, everything in that row shows. The free-text filter and theSkillsfilter work the same way. Scroll up to read, and new lines won't pull you back down. - Conversation (left).
You:in green,OVOS:in purple, and grey status lines for what the tool itself does (startup, service restarts, skill changes). - Activity (right). What OVOS is doing:
→ heard, which skill matched (▶), speaking, which common-query skills answered (✗for those that had nothing). - Input at the bottom. Type and press Enter, as if you had said it. Up/Down browse what you typed before.
If you start typing while another pane has focus, the keys go to the input anyway.
Keys
| Key | |
|---|---|
Ctrl+P |
Command palette |
F1 |
Help panel |
F5 / F6 / F7 / F8 |
Focus Logs / Conversation / Activity / Input |
Tab, Shift+Tab |
Move focus |
Esc |
Close a window |
Ctrl+Q |
Quit |
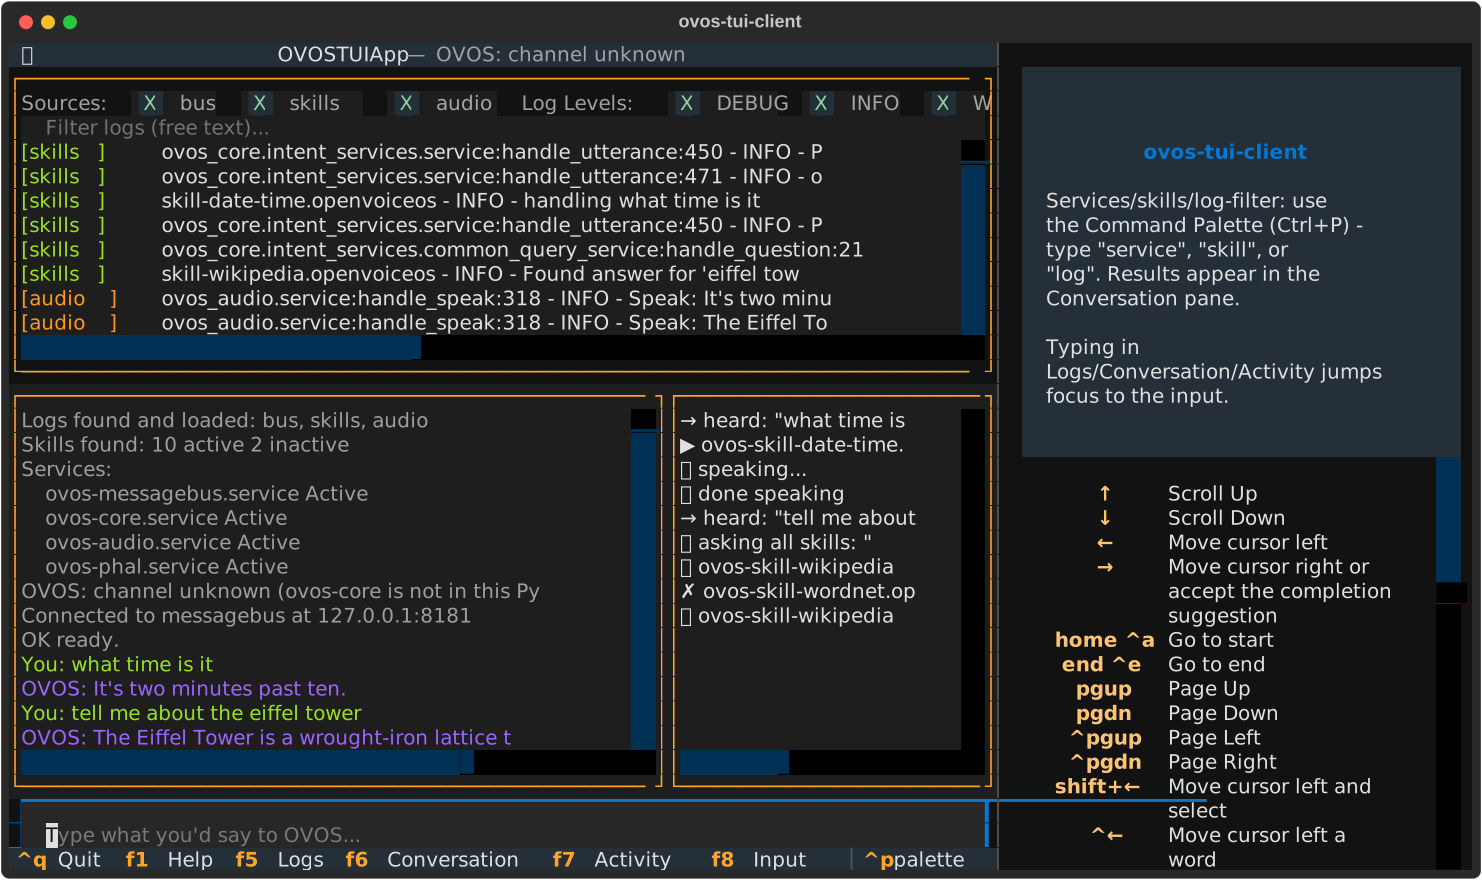
The command palette
Almost everything besides typing lives in the command palette. Press
Ctrl+P and type a few letters of what you want:
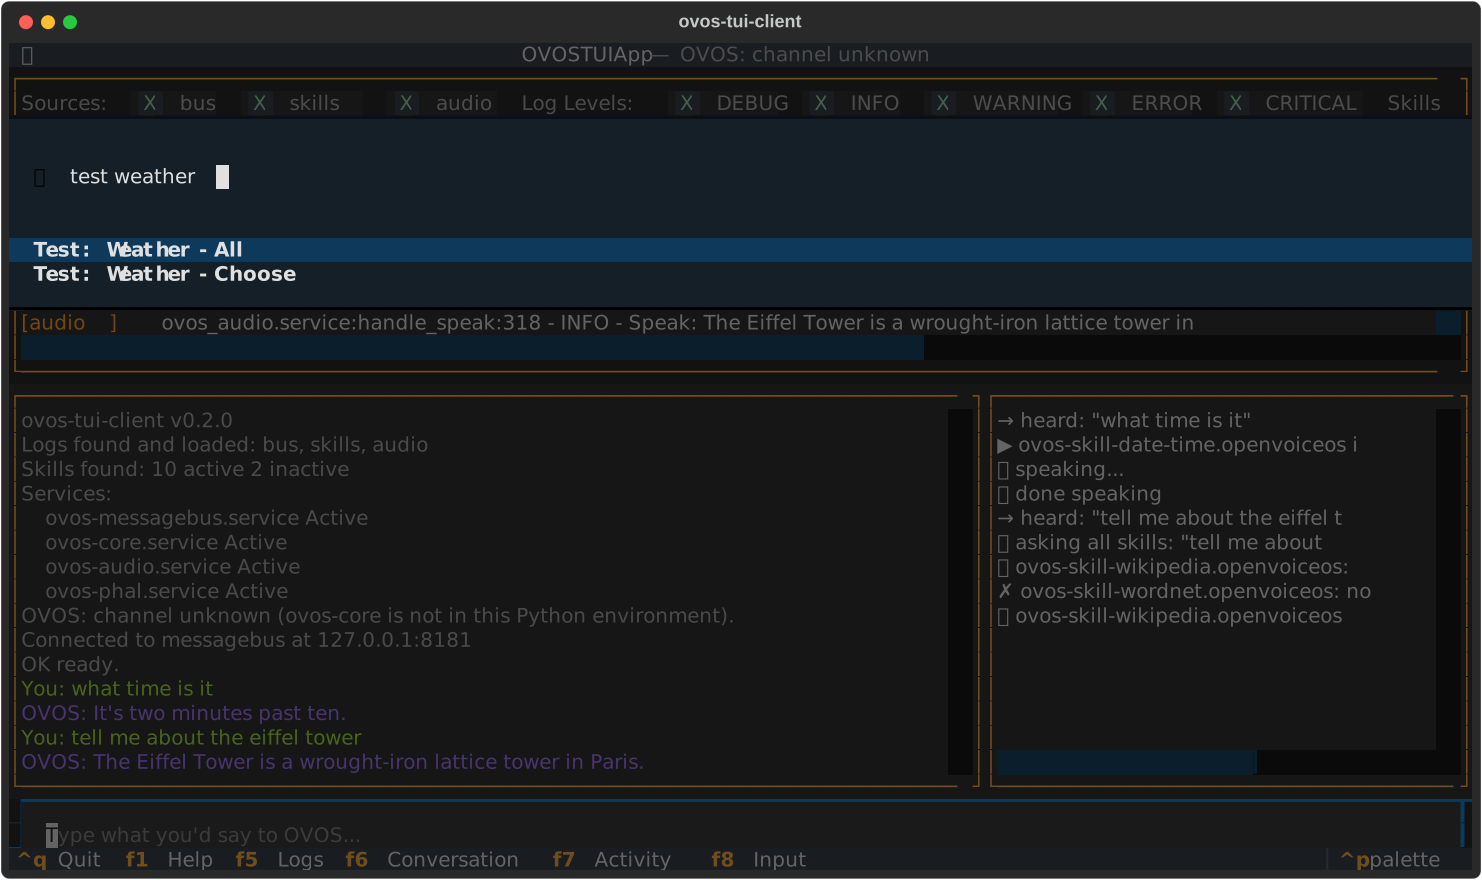
| Start typing… | to find |
|---|---|
test |
Test: <Skill> - All, - Choose, - Last selection, Test: All installed skills, Test: Save result…, Test: Show last result |
script |
Your own scripts, and Script: Stop running script while one runs |
about |
About: <Skill>, About: Installed skills, About: ovos-tui-client |
skill |
Skill: Activate / deactivate…, and one Skill: <id> (Active/Inactive) entry per skill that toggles it |
example |
Example phrases from the installed skills. Selecting one sends it. |
service |
Start, stop or restart OVOS services |
pipeline |
The intent pipeline in the order OVOS evaluates it |
log |
Log filters: sources, levels, skills |
clear |
Clear: Logs, Conversation, Activity, All |
refresh |
Refresh: Skills and services - pick up skills installed or removed since the TUI started |
Results are written to the conversation pane rather than to pop-ups. The only windows are the ones where you pick or read something: the test picker and the About windows.